
The open workshop
Make a wand
of your own.
The pleasure of wandmaking is meant to be shared. Hollywands welcomes anyone who wants to learn the craft, not only those looking for a finished wand.
Follow the work from selecting a branch to the final checks. Then learn a cord binding and start a record of your own design.
Begin with the wood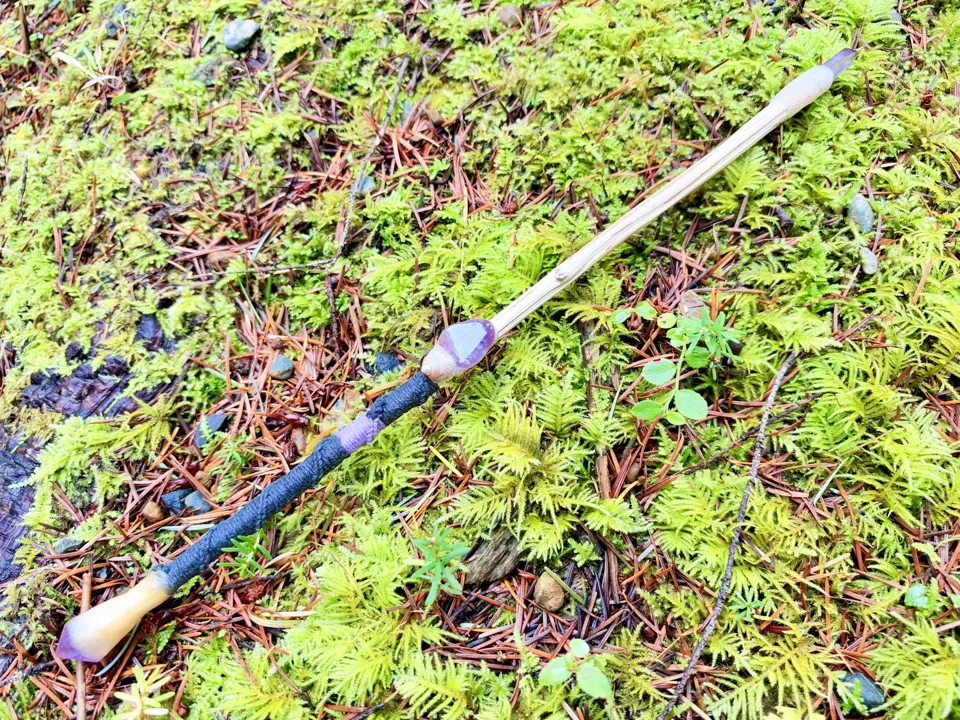
From branch to finished wand
The work,
in order.
Use this sequence to plan your own work. Begin with the wood and the fit in your hand; add settings and cores as your skills develop. A bare wooden point is a complete choice, not an unfinished wand.
Select & shape
Start with sound wood you can identify and have permission to collect. Decide which end will be the point, where the grip will sit, and which bends, forks or patches of bark to keep. Mark an outline before removing wood.
Make space for the hand
Mark the grip with two loose loops of cord. Move them and try holding the wood again. Lay any shell or stone beside the planned grip before fastening it, leaving enough room to close your hand comfortably.
Explore the woodsAllow the wood to dry
Freshly cut wood changes size as it dries. Let it settle before the final fitting of stones or other close-fitting parts. Drying time depends on the wood, its thickness and the conditions around it, not a single timetable for every branch.
Why the fit can change
Wood loses moisture unevenly and can shrink or split as it dries. The Forest Products Laboratory’s handbook explains drying, moisture measurement and storage in detail.
Read the wood-drying guidePrepare & fill the cores
If your design includes cores, mark their positions and plan how they will be closed before preparing the cavities. Keep the upper and lower ingredients separate. Write them down before placing them inside: once closed, those details will no longer be visible.
An example from Hollywands
Sahasrara’s lower core contains lotus seed fragments in beeswax. The ingredient is part of the making even though it cannot be seen in the finished wand.
Explore core ingredientsFit the settings & bind the grip
Arrange the point, base and any handle ornaments before fixing them in place. Check their alignment and leave the gripping area clear. Test your chosen fastening method on spare material first; a decorative cord wrap alone is not a secure stone setting.
Practise the cordwork separately
The common-whipping exercise below teaches a neat way to tuck cord ends under a wrap. Use a plain dowel for the first attempt so you can concentrate on the turns, without a fragile stone in the way.
Learn the bindingFinish & check
Check for rough edges, loose turns of cord and movement in the settings. Hold the finished grip from several angles. Choose a resting place that supports the wood without putting weight on projecting stones, and keep your ingredient notes with the finished piece.
Before calling it finished
Check the point, base, ornaments and grip individually. If something shifts, catches or presses into your hand, return to that part rather than hiding the problem under another layer of cord.
Keep your making notesA practical skill / Common whipping
A neat wrap.
No visible knot.
This traditional cord binding tucks its ends beneath the turns. Practise it on a smooth wooden dowel before working on a wand.
Set out: a dowel, a length of thin cord and scissors. No glue, stones or carving tools needed.
Lay down a loop
Fold a length of cord back on itself along a smooth wooden dowel. Leave the short end free at one side and the loop projecting beyond the other end of the planned wrap.
Wind over the loop
Use the long end to wind snug, adjacent turns around both dowel and loop. Work toward the projecting loop, keeping each turn beside the last.
Thread the end
Stop while the loop is still exposed. Pass the working end through it. Hold the turns in place.
Hide the join
Pull the original short end gently. Draw the loop and working end beneath the wrapping, stopping around its middle, not all the way through. Trim the loose ends.
Use this as a practice wrap, not a fastening for a crystal.
Common whipping: animation and variationsYour own design
Keep a maker’s record.
Write down the wood and where it came from. Note the cord, settings and anything you plan to put inside. As the wand takes shape, keep the changes too.
These notes are for your own work. Download them to keep a copy; nothing is sent to Hollywands.
Look through the materialsWandmaking notes
Keep this page open while you write.